In this article, we’ll cover the most common cases of WordPress hacks, how to spot them, and the various ways to resolve them. If such a case arises, we highly recommend that you contact a professional web developer for further assistance. To help improve your overall website security, please check out this guide.
IMPORTANT: Make sure to create a backup of your website before making any changes. If you installed WordPress with the Softaculous Apps Installer, please follow the listed steps in this guide to create a backup. After following the steps, if you still face any issues, feel free to contact our 24/7 Live Support for assistance.
PLEASE NOTE: To ensure that your WordPress website does not get hacked in the future, always scan your hosting account with an antivirus, remove any malicious or suspicious files, and update all the plugins and themes of your website to their latest versions.1.Missing default files
2.How to replace the missing files
3.How to replace all the default WordPress files
4.Missing files of theme or plugin
Although this issue is often caused by a variety of factors, the most common one is the infection of your installation files with malicious code. Luckily, the antivirus system present on our Shared and Reseller Hosting servers promptly quarantines these files.
In case your WordPress default files get infected, you might see the following:
- A blank page
- A 500 error page
- A page with the message that says: “This site is experiencing technical issues” (starting from 5.2.2 WordPress version), etc.
To resolve this issue, please follow the instructions below.
Check the error_log file of your website
To find out what exactly caused the issue on your website, you can check the error_log file. This file keeps records of any critical website errors that took place.
This file is located in the root folder of the installation:
- If the domain name of your website is the main domain name, then its root folder is public_html. You can find it in your cPanel account >> the File Manager menu.
- In case your domain name is an addon, you can check its root folder in your cPanel account >> the Domains menu. Just click on the link next to the domain name as shown in the screenshot below:

You will then be redirected to the root folder of the domain name.
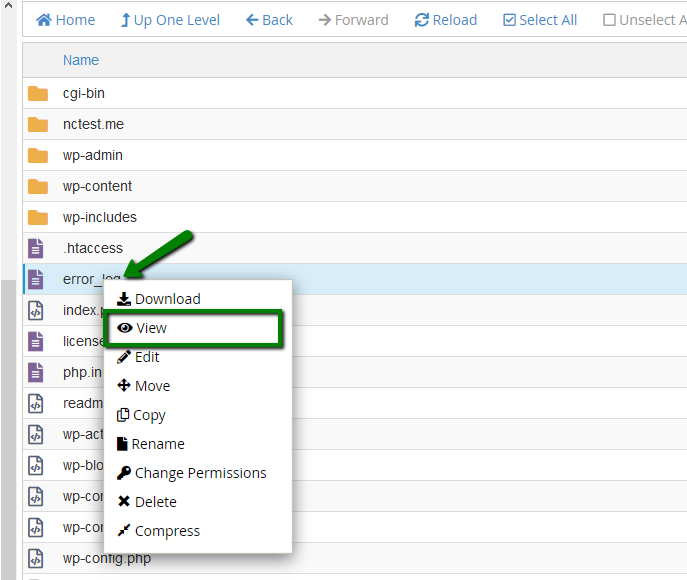
There you can check if the error_log file is present. If the file is present, please follow these steps:
1. Right click on it >> click View to check it:
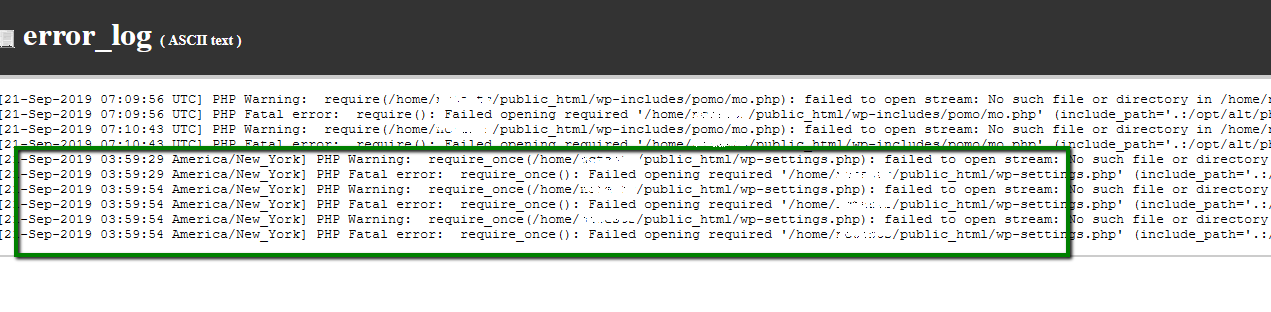
In the error_log file, you may see the following message: “No such file or directory in…” and the path to the missing file. This error means that the required file is missing for the correct work of the website.
In our case, this is the file below:
/home/cPuser/public_html/ wp-settings.php
3. In order to recover the missing file, please scroll to the How to replace the missing files section of this article.
Enable display_errors PHP option
If the error_log file is absent in the root folder of your website, you can enable the display_errors PHPoption via the Select PHP version menu in your cPanel account. By enabling this option, you’ll be able to see the error directly on your website.
PLEASE NOTE: To avoid website vulnerabilities, the display_errors option should be disabled after troubleshooting the issue.
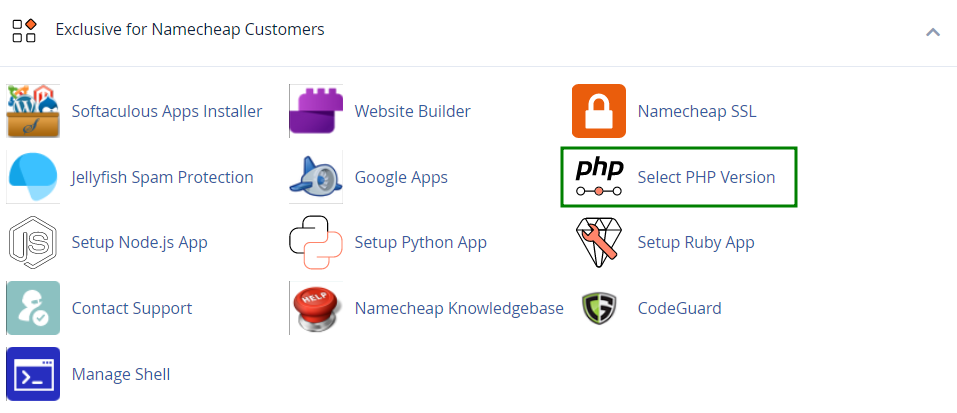
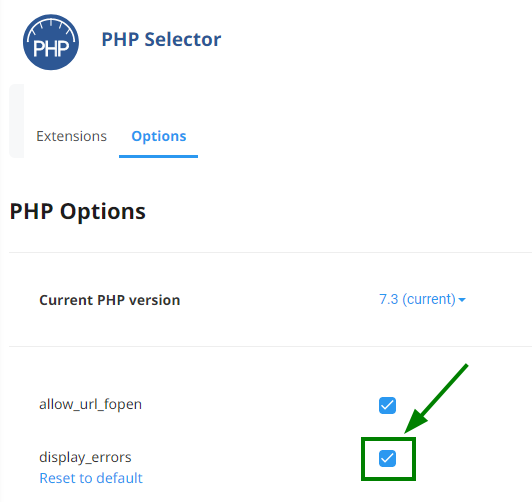
1. To enable this option, log in to your cPanel account >> Select PHP Version >> switch to Options:
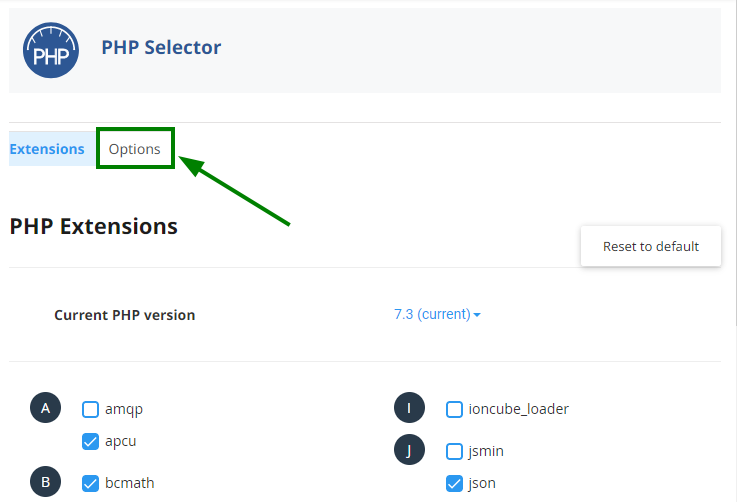
2. Checkmark the icon in front of the display_errors option in order to enable it:
3. If the default files are missing, then you will see one of the similar errors on your website:

4. The error above means that the default wp-settings.php file is missing. To replace the missing files, please follow the steps in the How to replace the missing files section.
In the Stellar Business package, the display_errors PHP option can be enabled as follows:
- using the php.ini file. Add the following line to the php.ini file:
display_errors=1 - using the .htaccess file. Add the following line to the .htaccess file:
php_value display_errors 1
How to replace the missing files
WordPress’ Content Management System (CMS) has a straightforward file structure, so replacement can be done in just a few steps. Replacing the default files is recommended, as it will fix all the files that are potentially corrupted by the virus. Still, it should be done with the highest amount of caution, as replacing some files and folders may lead to data loss.
IMPORTANT: Make sure to create a backup of your website before making any changes. If you installed WordPress with Softaculous Apps Installer, please follow the steps listed in this guide to create a backup.
To replace the missing WordPress files, simply follow the steps listed below:
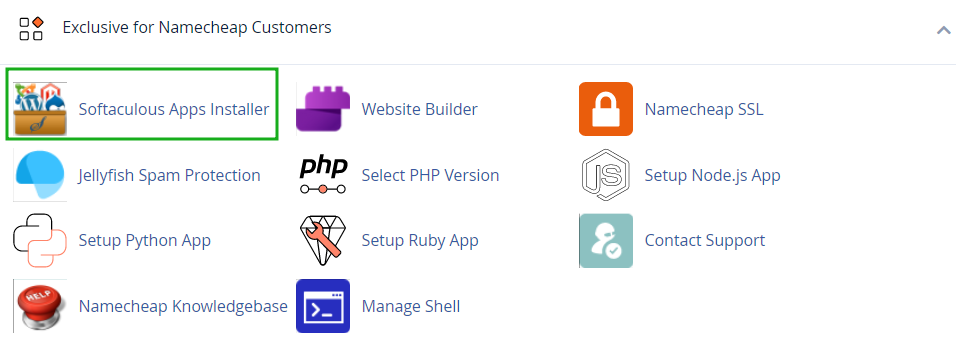
1. Log in to your cPanel Account >> Softaculous Apps Installer:
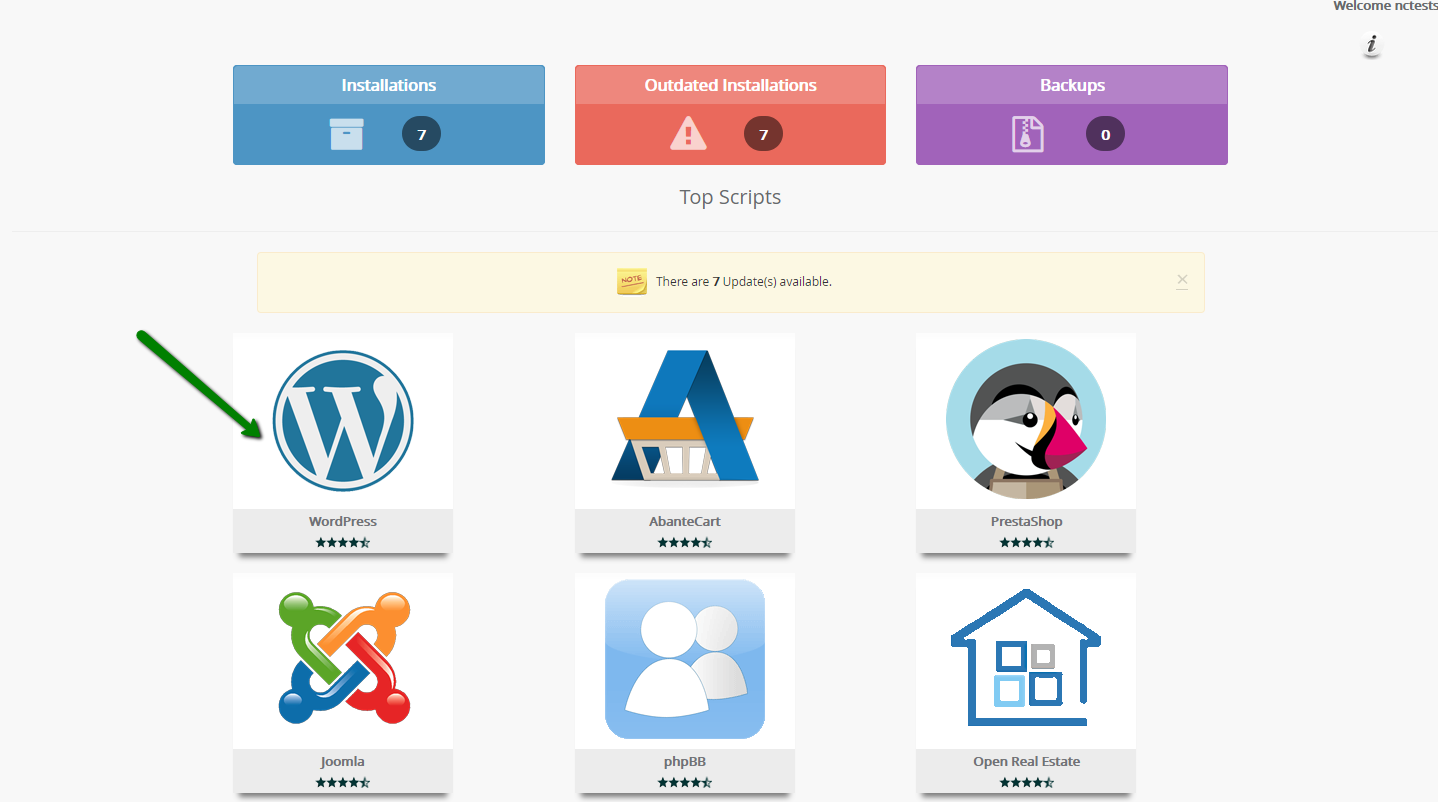
2. Create a new installation for your website in the subfolder. To do this, click on the WordPress icon >> Install:
3. You will then be redirected to the installation menu. Choose your website from the drop-down menu and type the name of the subfolder within the In Directory field. As an example, we will use fix:
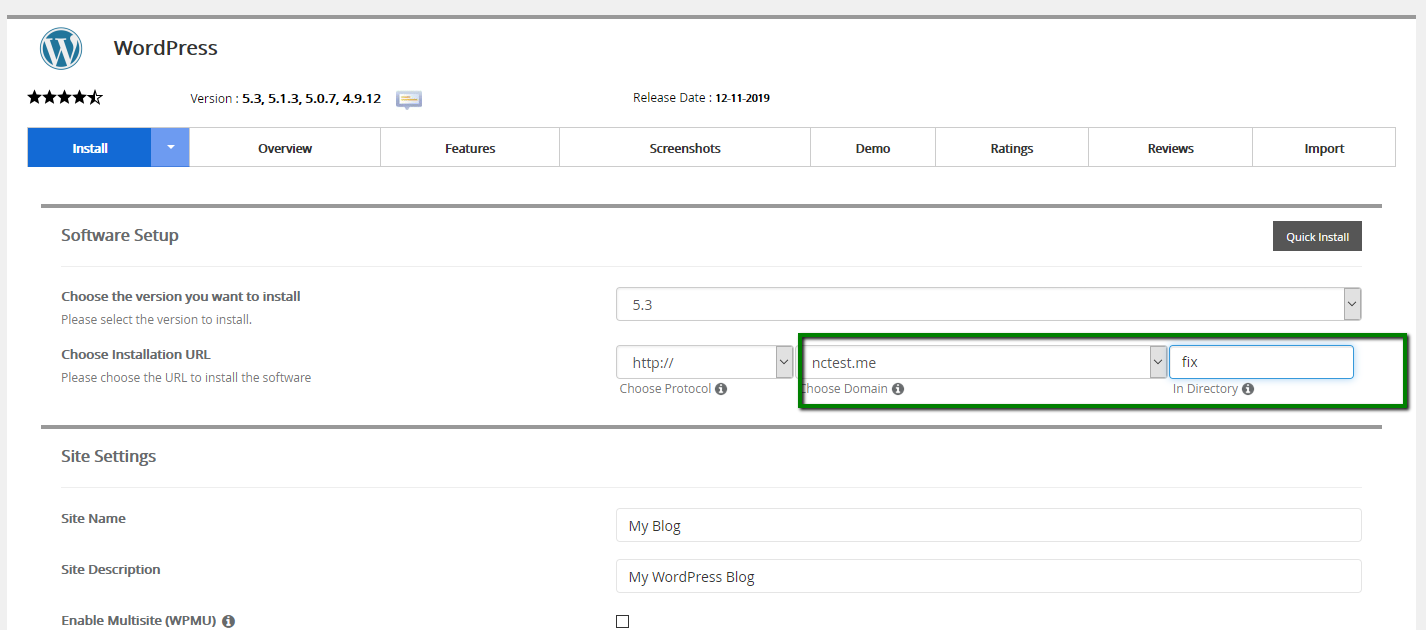
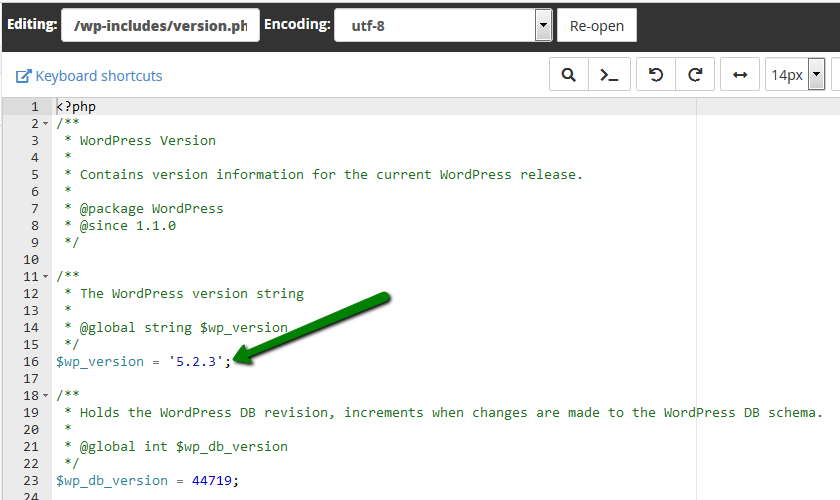
PLEASE NOTE: Replacing all the default files will automatically upgrade your installation to the version of the “fix” installation. If the current version of your WordPress website is crucial or if you plan to only replace some of the files, please check the version of your website in the /wp-includes/version.php file and create the installation of the same version. Never mix the files of the different versions, as it will most likely affect your website functionality:
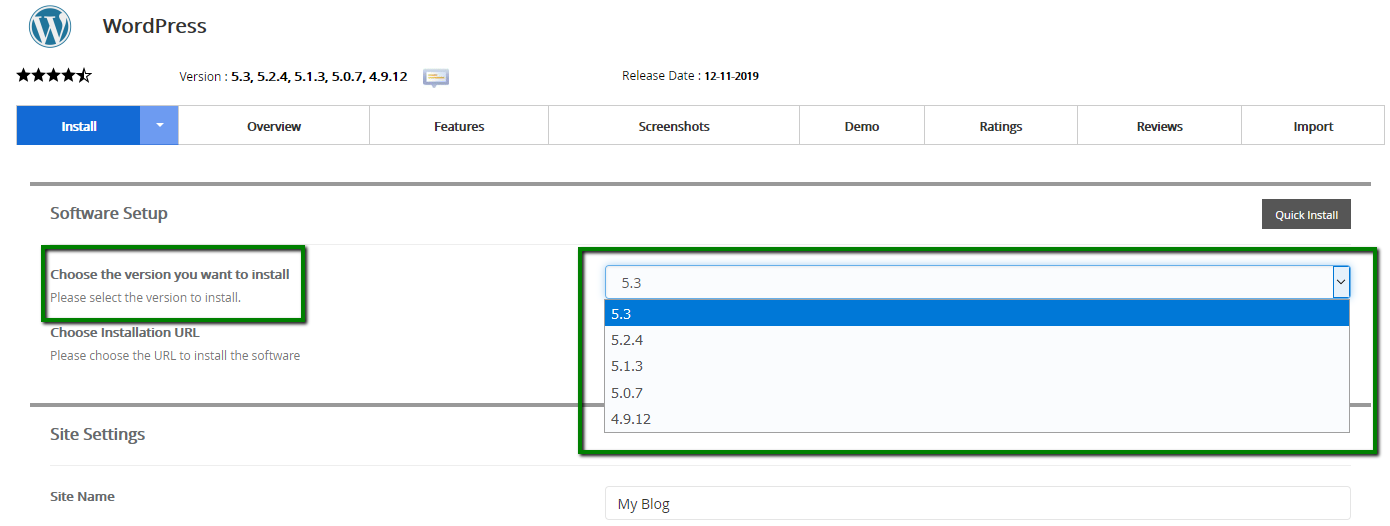
The version for the new installation can be changed in the installation window:
4. Scroll down the page and click Install once you’re done.
5. Your new installation files will be located in File Manager >> the root folder of your domain name:
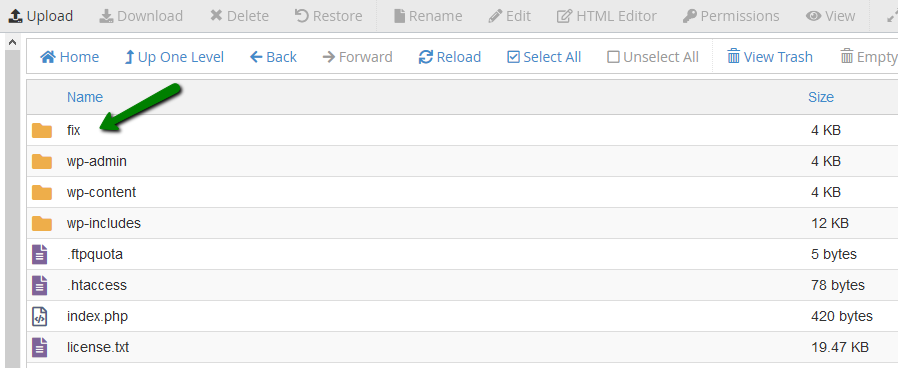
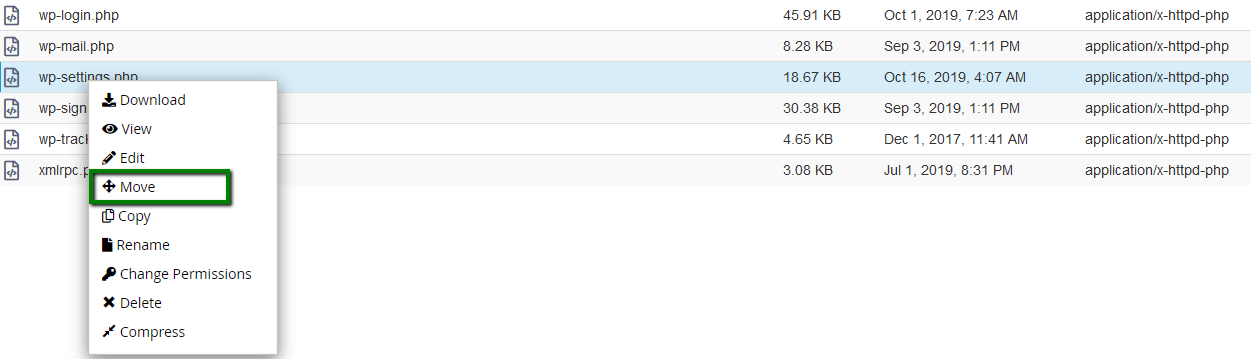
6. To open the folder, double-click on it. To replace only the missing file (e.g. wp-settings.php), first locate the file in the folder of the new installation:
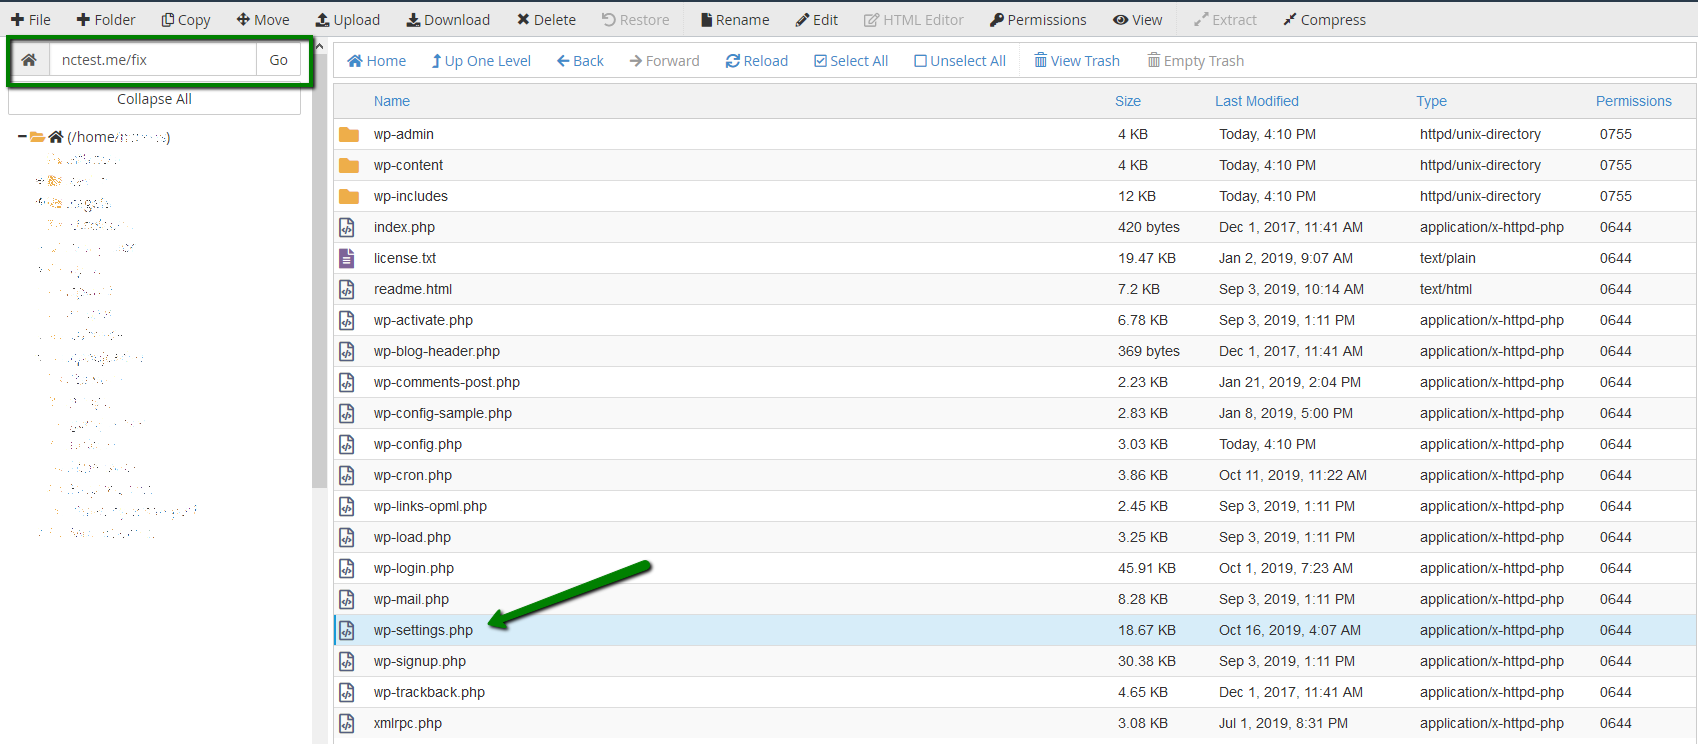
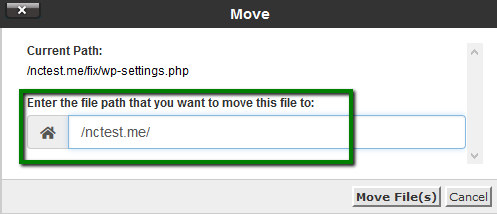
7. Move this file to the root folder of your website that should be fixed. Right-click on the file >> Move >> Enter the path to your website root folder >> Move file(s). (In this example, it’s the nctest.me folder.)
You did it! Now the missing file is recovered, and your website should be up.
